

One Click Proofs
Well, you got the gig. You've spent the last day and a half setting up for the shoot. You have to shoot with talent for two hours. Everything is lined up. On set (besides talent) you have a producer, assistant, production assistant, prop stylist, and an art director. There is only one problem... you're in Nashville, TN and the creative director, account executive and/or client is a thousand miles away and wants proofs.
Here is a quick set up to send proofs using Dropbox and CaptureOne. It will take about two minutes to set up and once up and running only requires one key command (For Mac “Command+D”).
Open the Dropbox App on your computer
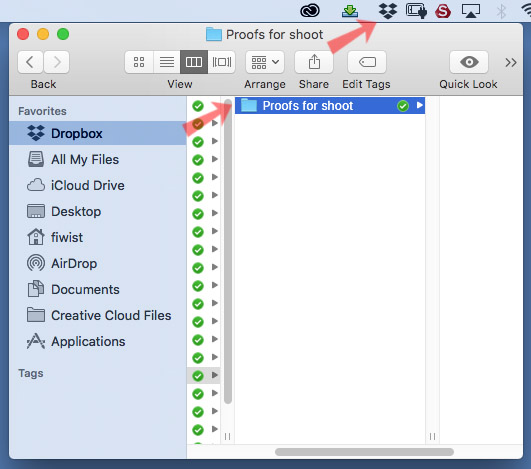
If you click on the Dropbox icon you will see your most recent activity. Click on the folder icon a the top right and it will open all your individual folders. Create a new folder (Right click or “Shift+Command+N”). You can name that folder whatever you would like. I named mine “Proofs for shoot.” Right click (or Control click) the Proofs folder and on the dropdown menu click “Share.” On the pop-up screen add any email addresses you would like. Press “Share” at the bottom and whoever you sent the link to will have access to that folder. (I always like to add myself so I can check the link.)

Open CaptueOne and got to Process

In CapturOne you will go to the Proccess screen (looks like a gear). Add a new processing recipe and name it. Mine is “Dropbox Proofs”. (Make sure you un-click any other recipes.) Go to “Process Recipe” area to make the recipe. I use Jpeg, Quality 60, 150-200 px/in, Scale>Long edge 5 in. You can make it bigger or smaller depending on what your client needs.
If you want to add a watermark there is a Watermark tab under “Process Recipe” (upper right).
Set Output Location

While still in the Process section under “Output Location” go to the “Destination” drop down menu and “Choose Location.” Dropbox should be at the top left. Click through until you find the “Proofs for shoot” folder and then Set as Output Folder.

Press “Command+D”
You're done! Anytime you press “Command+D” it will process the image you are on and it will land in the shared Dropbox folder.
If you are not into keycommands you can add the Process button to the top of CaptureOne's toolbar by going to View> Customize Toolbar. Drag the process (gear) icon to the toolbar. Whenever you press this button it will also process directly to Dropbox.
Always double check! Process out a photo. Go to the link you emailed yourself and make sure the image landed where it should. Also, make sure there are no images from other clients you don't want to share in the wrong place.